
Back in Windows 10 when you wanted to set it up without needing a Microsoft account you could just click “(create) offline account” but with Windows 11 they removed that. Meaning now you have to bypass the setup with a command. Here’s how you can do that:
Normally it should automatically happen or you should get the option to make an offline account when you aren’t connected to the internet. Though even if you were once connected to the internet and then go to a place where you don’t have internet access you wont see the option to make an offline account anymore.
And as a generally tip don’t have Ethernet or any form of internet cable plugged in.
Option 1 (Might no longer work):
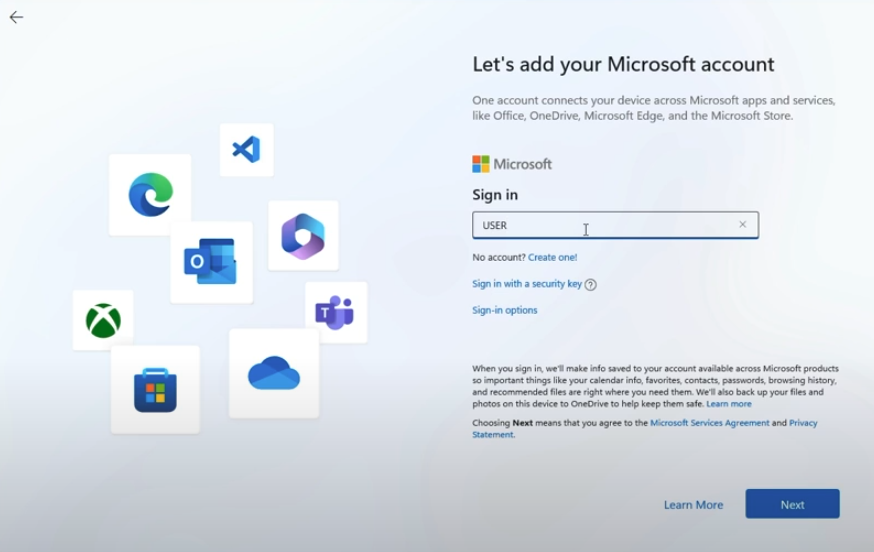
Step 1, Enter Email address:
When you get to the Sign in windows where it asks for your Email, phone or Skype enter “USER”, like this:
Step 2, Enter password:
After you will get asked for your password, enter “USER” again. After which you should see this screen:
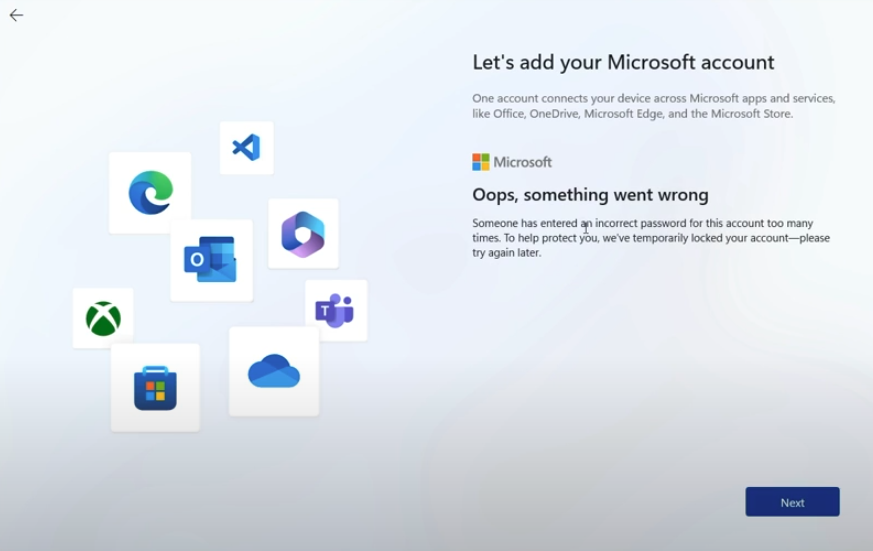
Press Next
Step 3, Enter Username:
Now you should see this screen where you can enter the name:
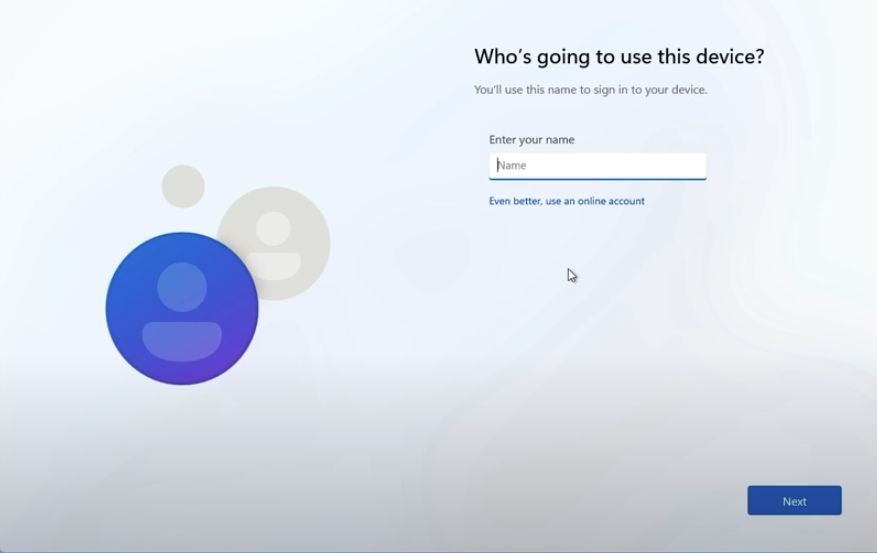
After which you should be good to go.
Option 2:
Step 1, Open the command prompt:
As soon as you see the Windows start-up screen where it says getting Windows ready for you (or something else) press: Shift + F10 or Shift + Fn + F10
Then you should see a command prompt:
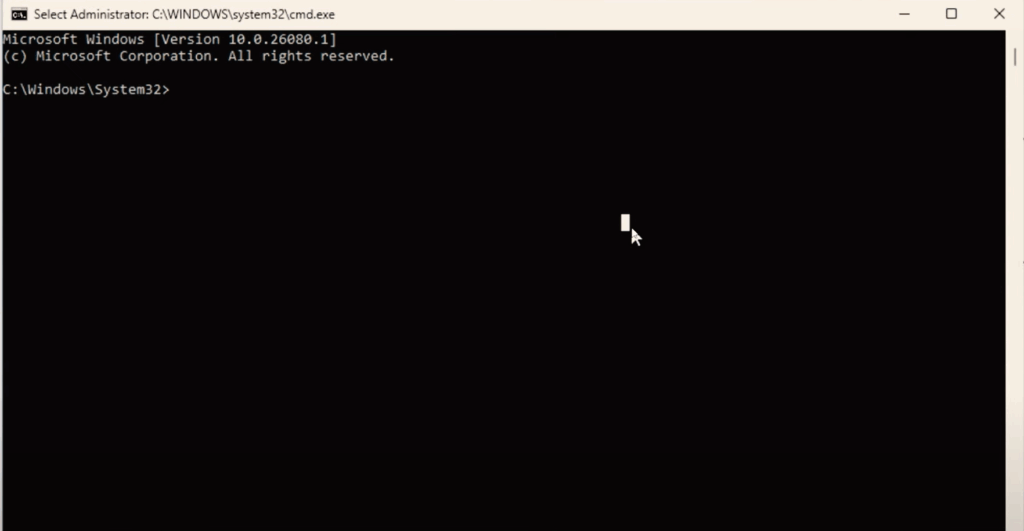
Step 2, enter command:
Now enter the following command:
oobe\bypassnroIt should then reboot and you should be able to sign in normally.
IMPORTANT! Choose the option “I don’t have internet”
Option 3
If neither options above worked then Microsoft patched them.
Step 1, Open the command prompt
It doesn’t really matter when during the setup you do this. Press: Shift + F10 or Shift + Fn + F10
Then you should see a command prompt:
Step 2, enter command
Enter the following command:
start ms-cxh://localonlyAfter executing a new pop-up window comes up asking you to create a user for the PC. If you remember that’s the old offline account creation menu. Now just create the account and then your done.